Happy Hardwood : Part II (Sealing & Finishing)
/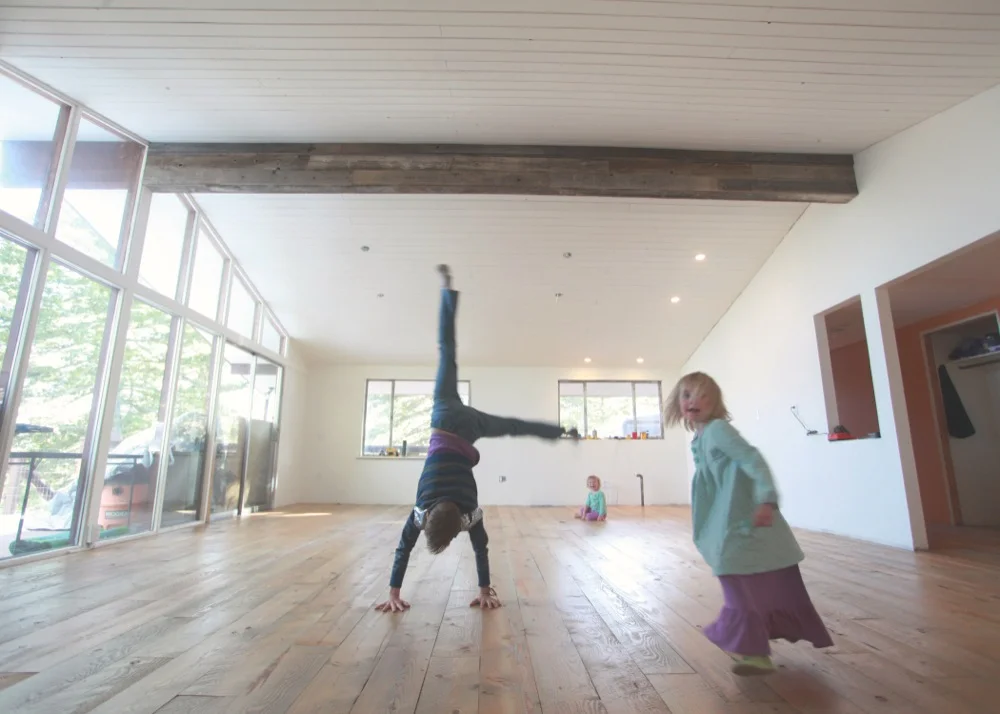
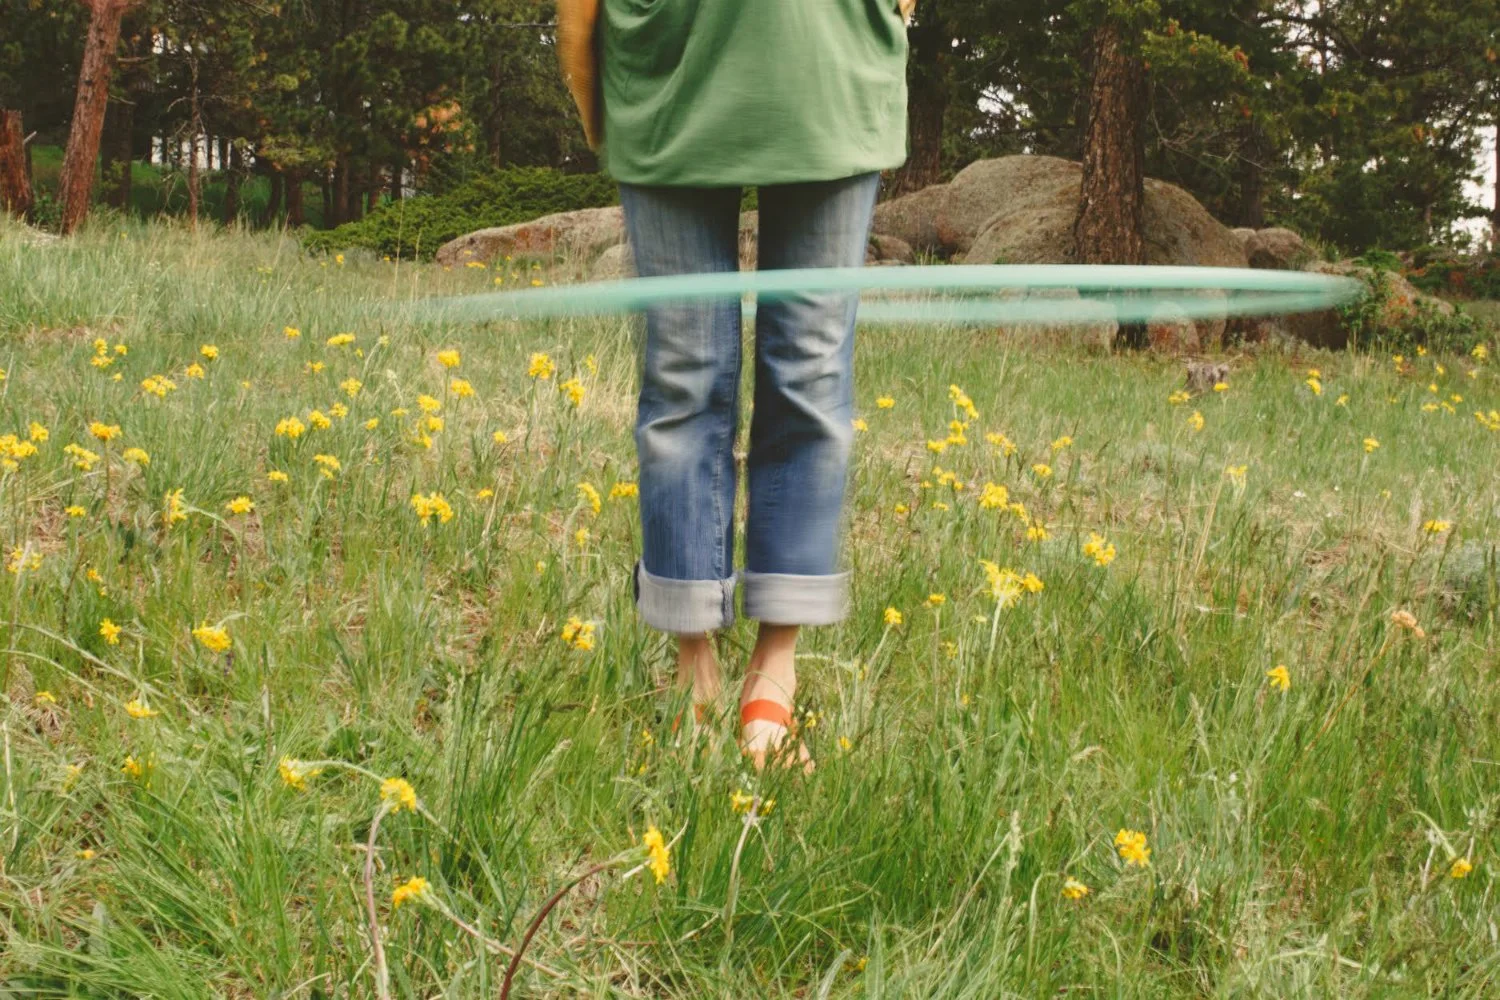
Just typing that title makes me giddy. We're so close to moving upstairs...I can taste it! After living in Matt's shop since Friday, we headed up to the house to check out our brand new floors...and as you can see, the girls are in love. It's so fun to run around and not have to stop every 5 seconds to pull splinters out of our toes.
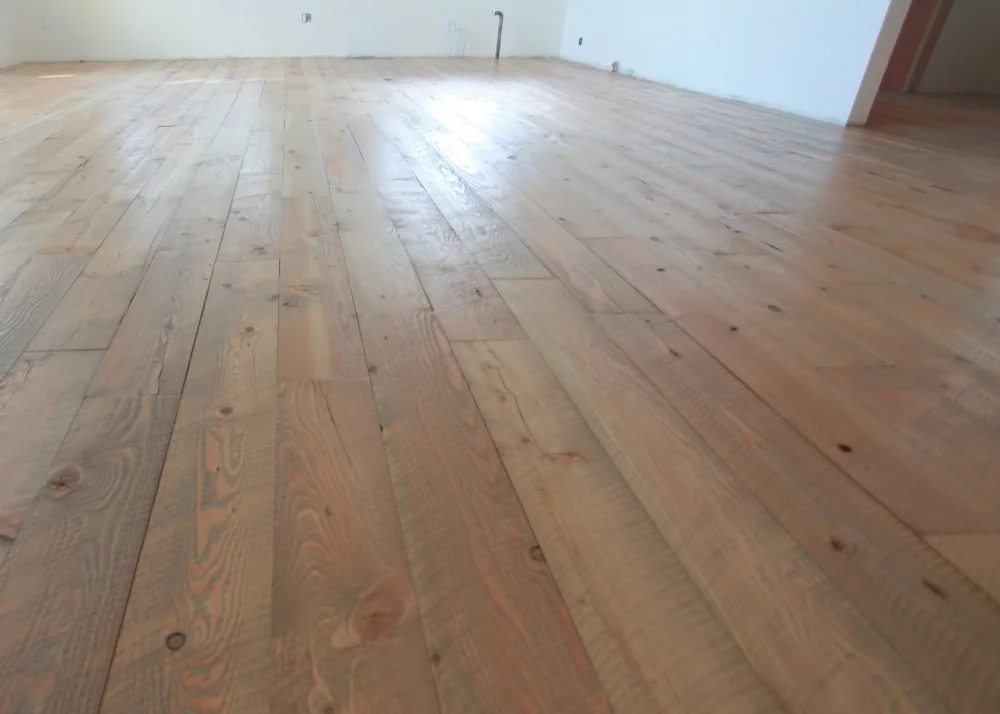
It's amazing to me how the floors transformed from such a raw state to feeling truly "finished". The satin finish is so smooth and lovely...but not overpowering and blindingly shiny like a high gloss. Our goal was rustic...we did not want a floor that you could see every scratch and every piece of dirt. We wanted a happy, lived-in, scratched up floor :)
We decided to go with water-based polyurethane instead of oil-based for many reasons. Less fumes, dries faster, and easier to re-coat worn areas. It used to be that people were afraid of putting a water-based poly down because it wasn't as durable as oil...but technology has improved all things. :-) It's extremely durable and the best part is that it doesn't yellow over time. In fact, it doesn't have any color at all. Oil-based has a slightly amber color (even the clear finish)...but water-based stays clear. This was important to me because douglas fir is very warm-colored already.
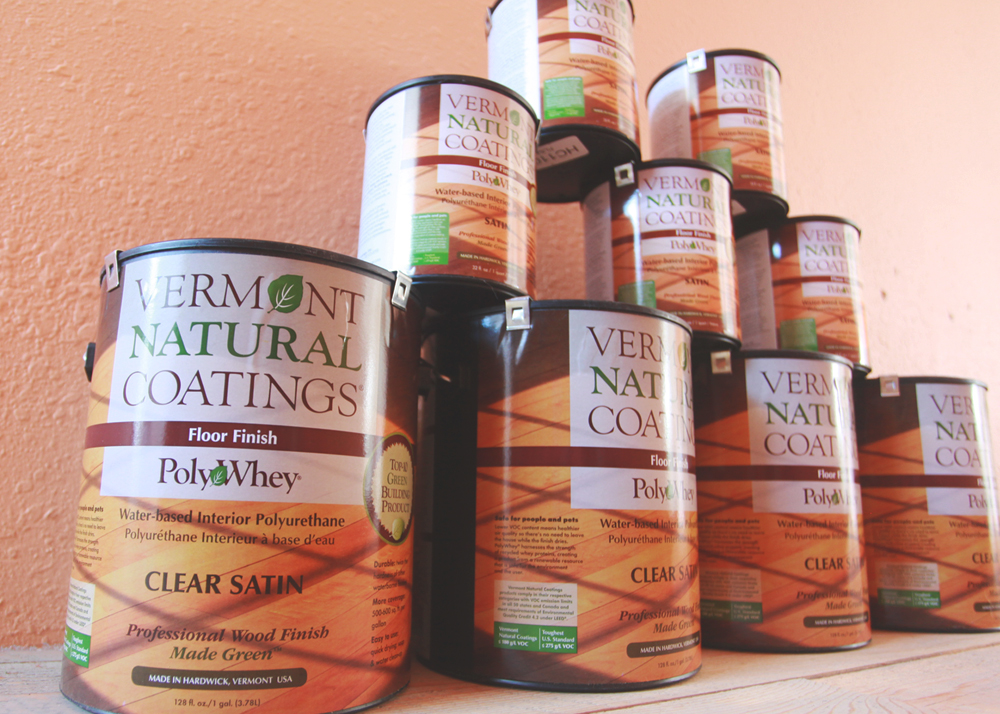
We chose Vermont Natural Coatings because they had the lowest VOC count of our water-based poly options. And all the reviews we read spoke very highly of the quality of the finish and how much they loved their floors. I was sold! It was a bonus that they are small company and it's made in the beautiful state of Vermont. Oh...did I mention that it's made out of a by-product of the cheese industry?! So cool. Watch the video above for some history and how it's made. *this is definitely not a sponsored post, we just like it!*
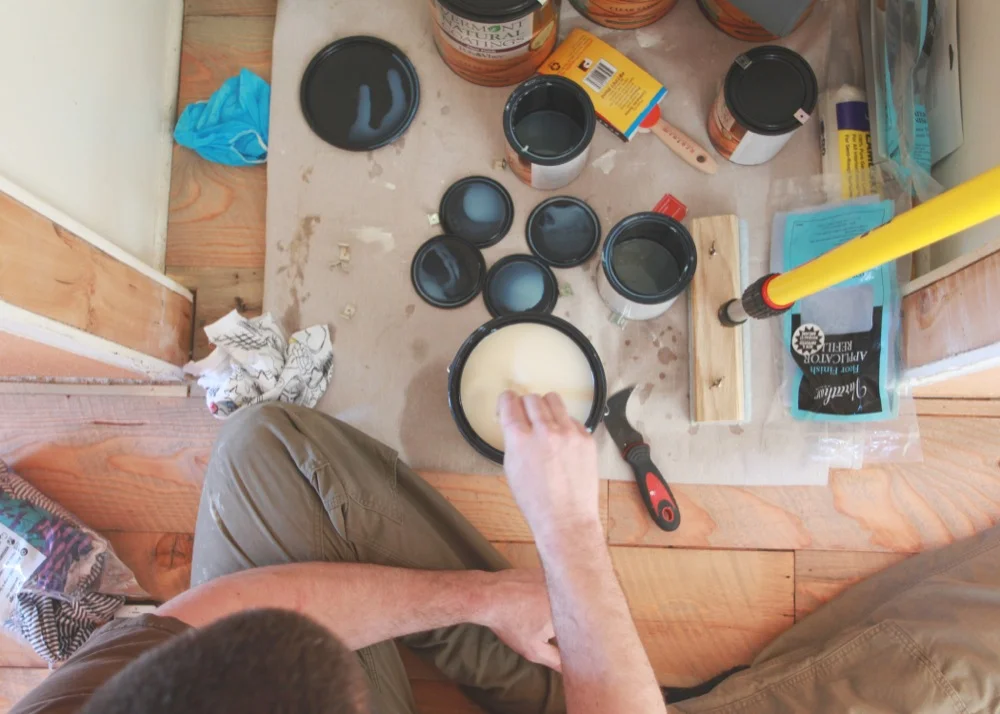
So how did it all happen? We started out by stirring, stirring, stirring. At least 5 minutes per can...to combine all the "stuff".
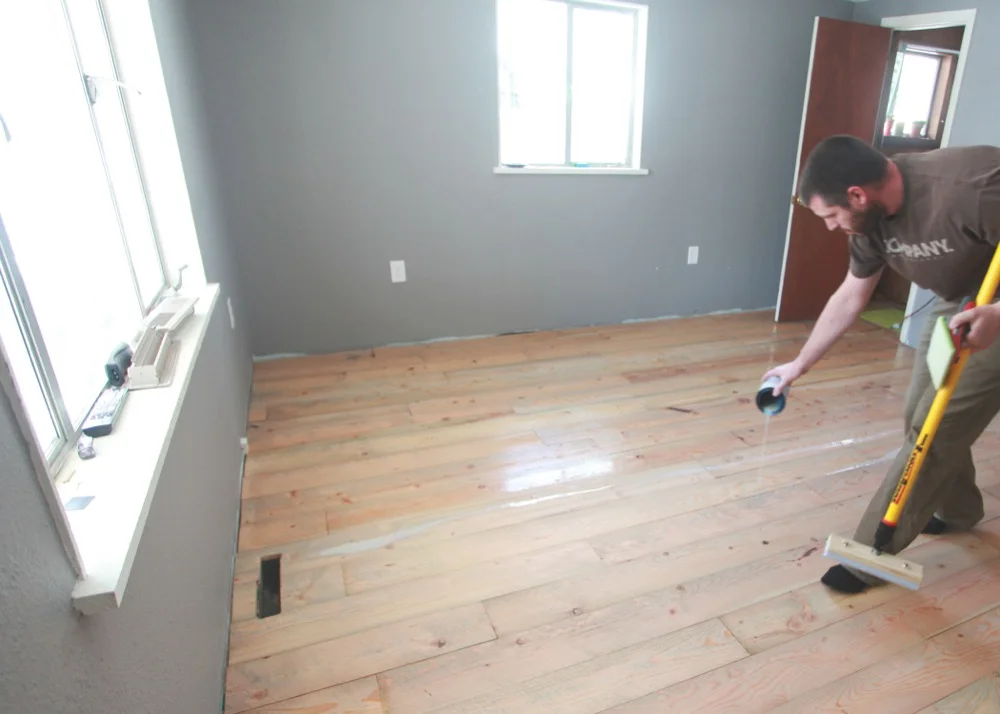
Matt poured it on and carefully applied it to the floor.
Once he found his groove, it went really fast. There is so much research and decision that goes into getting to this point...the actual DOING of it is much simpler than it seems leading up to it. We've learned that several times along the way.

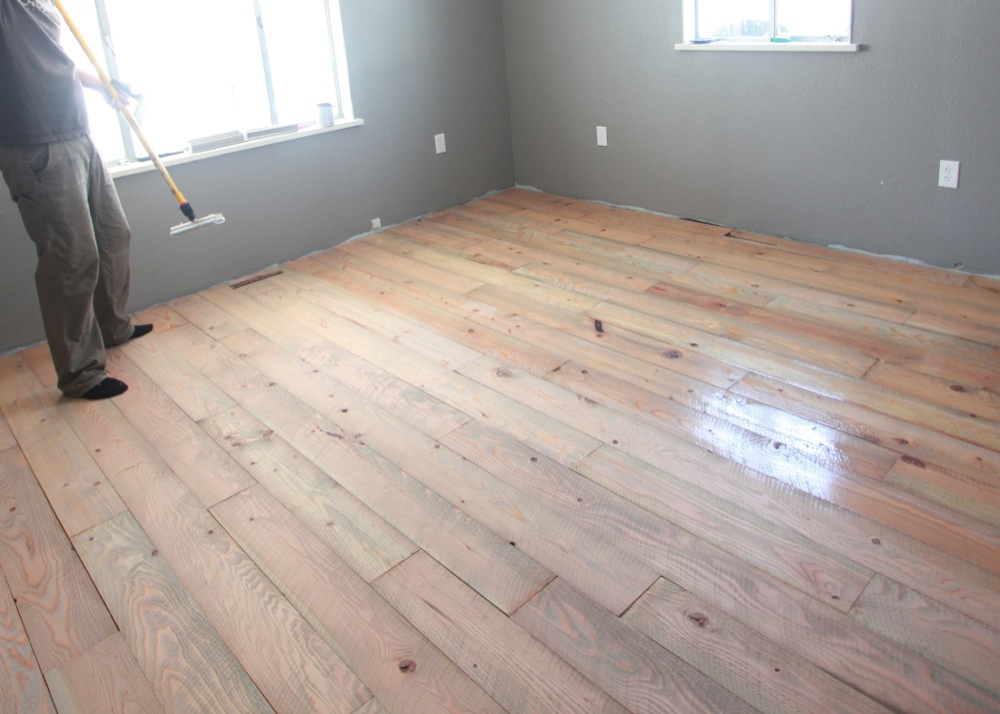
After the first coat, he sanded the entire thing lightly with 280 grit sandpaper....and applied another coat. It dried super fast and we could walk on it within 2 hours. We had initially planned on only doing 2 coats...but after speaking with retail reps, friends who have used this brand, and calling the company directly...we decided to bite the bullet and do three coats.
The thing is...we're out of poly. And we have already bought out every single can from McGuckin's in Boulder. Denver is sold out as well. So today we are jumping in the car and driving 2 hours south to Colorado Springs to pick up more cans to complete that third coat. We'd rather have peace of mind and protection than have to pile all the furniture out in a year and do it over!
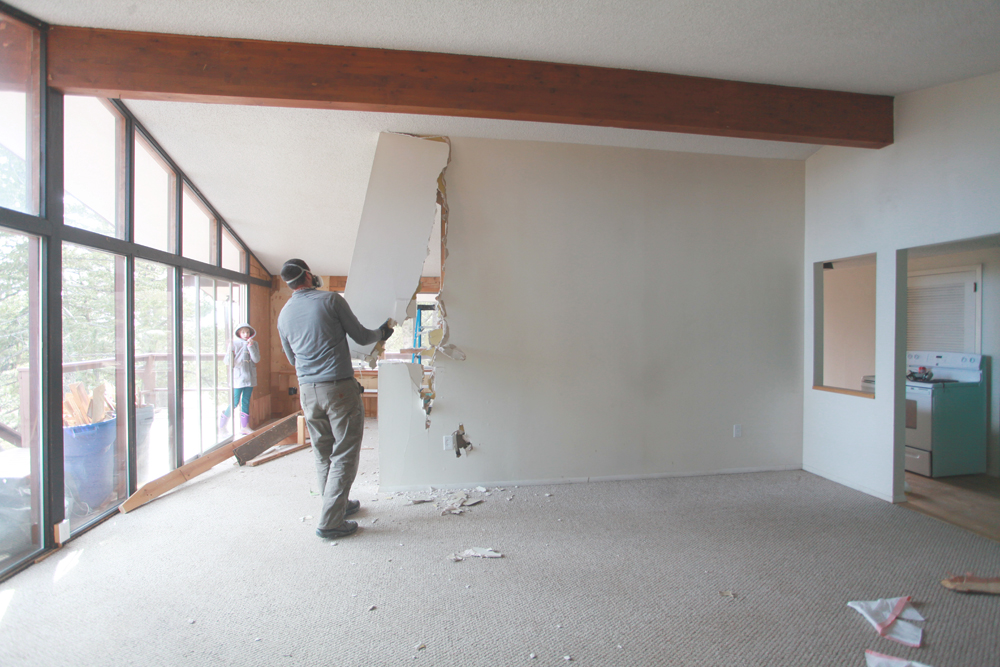
Six weeks ago it looked like this. Remember that old carpet? Popcorn ceiling? Dark wood? I do. But I also had a vision.
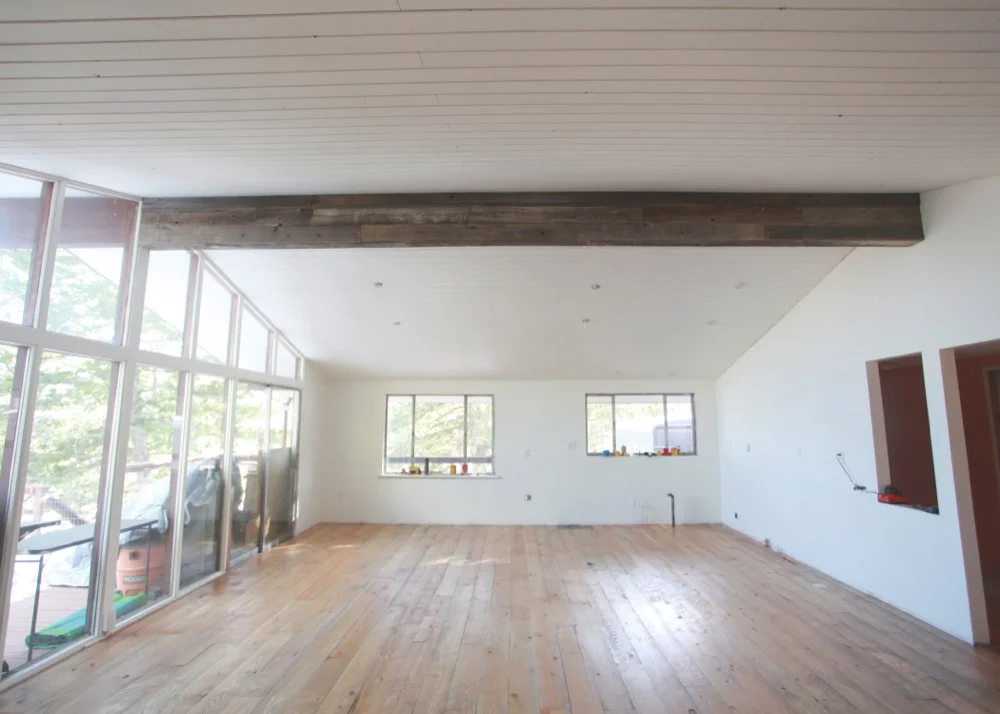
And this was it! Fresh, rustic, and bright. It's home. It's ours. Our hearts are happy.
I'm hoping the next time I share this room with you will be when we are installing the kitchen. The floor takes 1 week to "cure", so we'll be putting furniture in a week from today! Eeeeeep!
And that, friends, is how you put in a wide plank douglas fir on-site finished wood floor. That's a lot of words. Ta-da!